Refinishing DIY Hardwood Flooring
Refinishing DIY Hardwood Flooring
It doesn't matter how well you take care of your hardwood flooring, eventually it will begin to show signs of wear and tear. The surface may lose its luster and you may notice some discoloration from furniture or sunlight. When hardwood flooring starts to show signs of age, many people opt to just find a new type of flooring rather than taking the time to refinish their hardwood to its previous standards of glory. Refinishing hardwood flooring can be intimidating due to the work involved, but at Georgia Carpet, we're here to help with a guide to refinishing DIY hardwood flooring. Whether you believe it or not, refinishing your hardwood flooring is actually a very simple process, though it can be a bit time consuming. While the average cost to refinish hardwood flooring can be thousands if you hire a professional, doing it yourself can save a ton of money and still get the results you want.

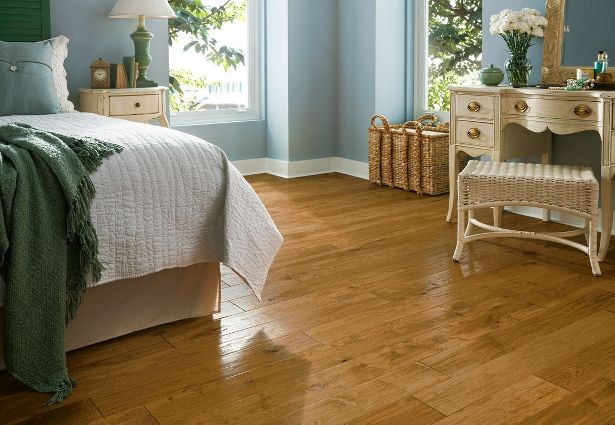
American Scrape - Hickory - Armstrong Solid Hardwood Flooring
Refinishing your Hardwood Flooring can be done in a few steps...
- Empty the Space - Start your refinishing project by completely emptying the room. Refinishing flooring can kick up a lot of dust and debris, so you want to make sure that all of your belongings are out of the way. By emptying the space, you'll also have access to the entire floor to make the actual work of refinishing go smoother and faster.
- Seal the Space - You will begin by sanding your floors after everything has been moved from the room and you have taken the proper steps to seal the room. Sealing the room is done by placing plastic over the doorways and using painters tape to hold it down.
- Sand the Floors - Sanding and refinishing hardwood floors is a lot easier when you have the right tools. For this project, you will need to rent a floor sander from your local home improvement store. This is not a project that can be done with a hand sander, so don't even try it. Renting a floor sander is actually not very expensive, and you will receive a good breakdown on how to use the equipment from the rental counter. It helps to bring the dimensions of the room with you when you go to rent the sander so that the rental agent can help you determine how long you should rent the machine for. Once you're ready begin sanding, you will only need to sand enough to remove the finish from the top of the floor as well as any blemishes or scratches that you make come across in the process. In between sanding passes, it would be a good idea to vacuum any dust or debris that may have accumulated to prevent it from getting into the room's air circulation.
- Wash the Floors - After everything has been sanded down to your liking, dampen a cloth or even a microfiber mop with mineral spirits and wipe up any excess dirt, debris or dust that your vacuum may have not picked up. This is an important step so do not skip it! Take your time and make sure the floors are as clean as possible before proceeding.
- Apply a New Finish - Once the floors are sanded and cleaned, it's time to apply a new finish. Grab a paint brush that is about four inches in width and apply your selected base coat of sealer. Begin at the edges of the room firs and make sure to follow the boards lengthwise with your coating. The base coat should be applied lightly, be careful not to use too much. Have a plan in mind and always work toward the door so you don't get stuck in the middle of the room. Now if you really want to cut down on time after you do the edging with the brush, you can opt out of using it on the rest of the room if you purchase a synthetic fiber floor finishing applicator. As stated before apply an even coat that isn't too thick.
- Let it Dry - Once you are finished with the base coat you will need to let it dry. This generally takes about 2 hours but make sure to allow for the recommended drying time according to your specific sealant product. Always give the base coat enough time to properly cure before applying another coat.
- Apply a Top Coat - Once the base coat is dry, grab another paint brush (unused) as well as a new synthetic applicator if you chose to use one and apply a top coating of water based polyurethane to the floors. Makes sure you do this exactly as you did the sealant layer, starting at the edges with the paint brush and then moving to the center. Make sure to go in the same directions with the brush as before.
- Let it Dry - Once again allow the floor to dry according to the package directions.
- Add a Second Coat - Finally, repeat the process of adding a top coat and allowing it time to dry completely before declaring the project complete and moving your belongings back into the room.
Refinishing your floor is a lot simpler than you thought right? Well good for you, you're well on your way to becoming a DIY Flooring Expert!


